Learning New Quilting Techniques
When I was a young mom with lots on my plate I didn’t spend much time quilting or learning new quilting techniques. I knew how to sew a straight line and machine applique. Then, my mom started taking a quilting class at a local adult school. She kept encouraging me and my sister to take this class with her. It was offered in the evenings for the fall semester by a brilliant woman named Nancy Freeley.
I was new to quilting and all I could picture was a bunch of ladies sitting around gossiping. My sister and I did sign up and I’ll always have fond memories of taking that class with them. I learned things from all the many women there and it was one of the funnest things I’ve ever done. I learned many useful sewing and quilting techniques from this wonderful instructor who inspired me to keep learning as much as I could.
I’ve since moved away from that area and have never found anything that equaled that experience.
What are Your Favorite Quilting Techniques?
Over the years, I’ve learned many different quilting techniques, most of which were taught in that first class I took. They include: Traditional Piecing, Foundation Paper Piecing, Applique, Crazy quilting, Civil War quilting, English Paper Piecing, Art Quilts, and Rag Quilts. I’m looking forward to finding a class that teaches Hawaiian quilts. If you know of any in Utah County, let me know in the comments below.
Traditional Piecing
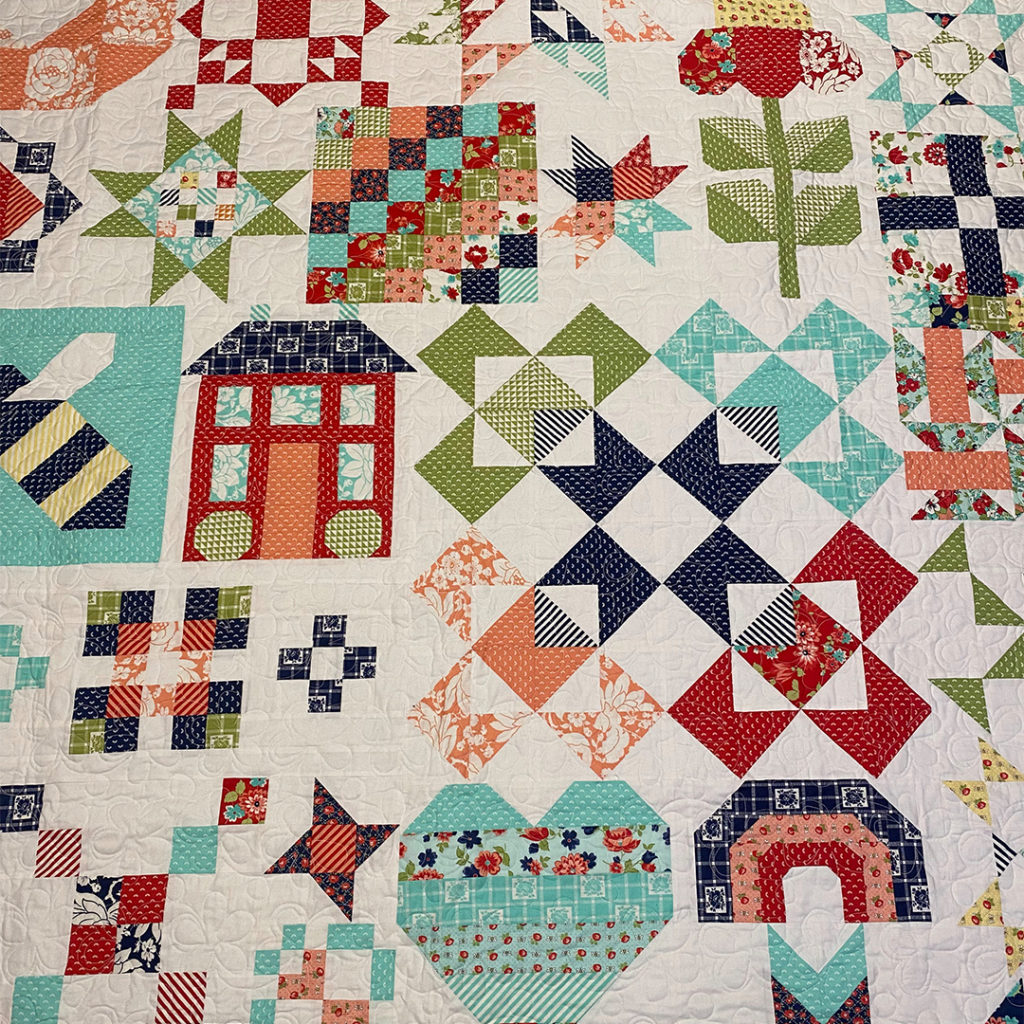
Traditional piecing can also be known as patchwork. It’s done by taking triangles, rectangles and squares, to create shapes, blocks or larger pieces. It all gets sewn together in ways specifically to create designs inside of designs. It can range from a very simple pattern to very difficult.
Foundation Paper Piecing
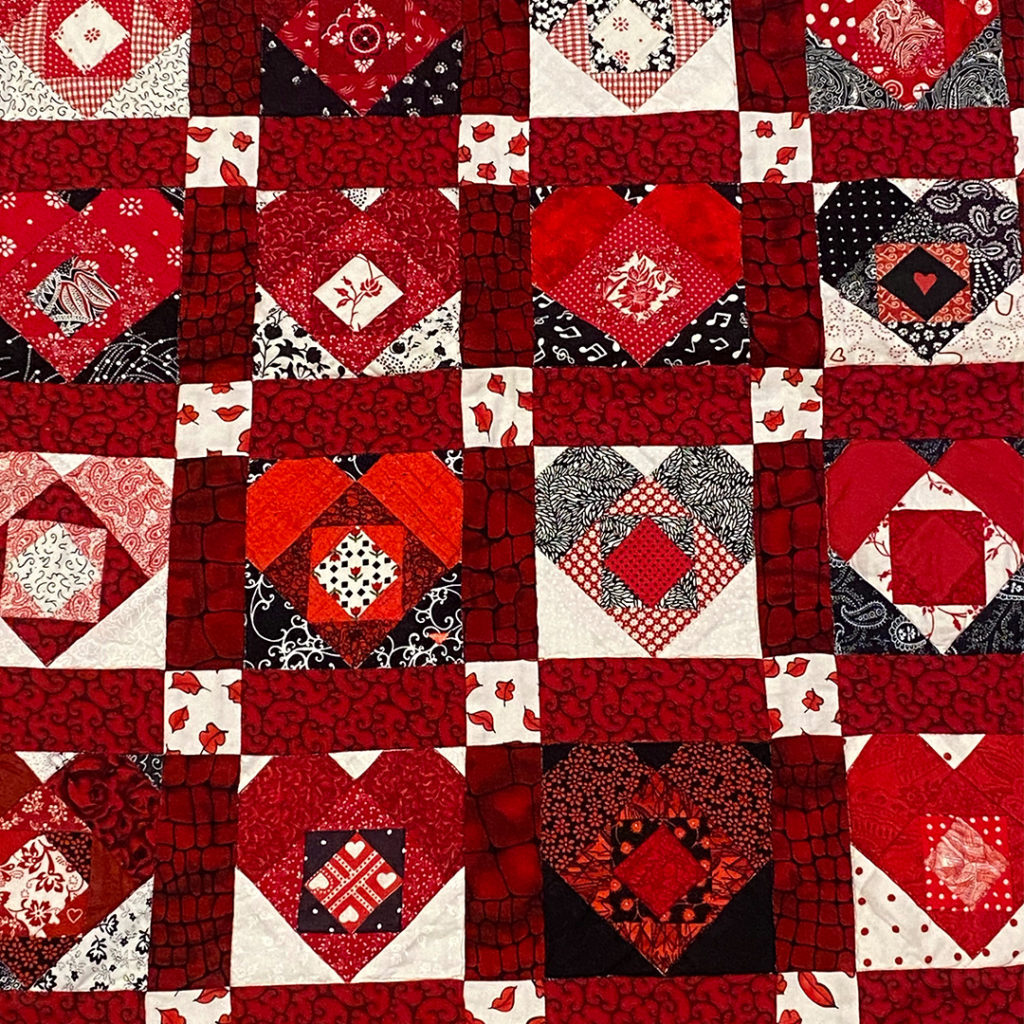
Foundation Paper Piecing was something I tried very early in my quilting experience. Immediately, I was deeply in love with it. I used this technique to create quilts with words and in landscapes. There are still a few Christmas patterns for paper piecing ,hanging in my quilt room, that I’d love to make one of these days.
The process is done by using a special foundation paper (can be found at Joann’s) and the pattern is printed with numbers to indicate exactly where to stitch your fabric on. You build on each number as you sew and after you’ve trimmed your entire finished piece and remove the paper, you have a perfectly created block to add to your quilt top. It goes fairly quickly and yields nearly perfect results but this method does waste a little more fabric.
Applique
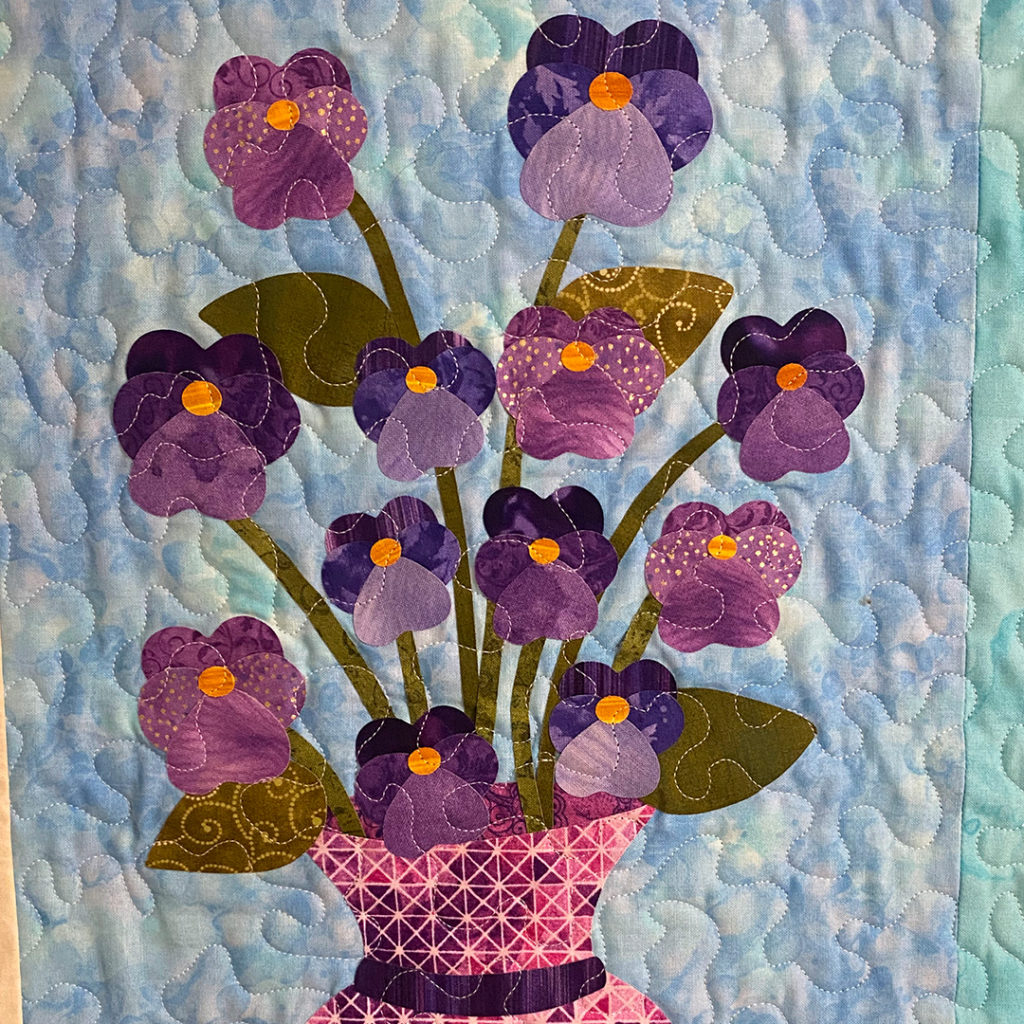
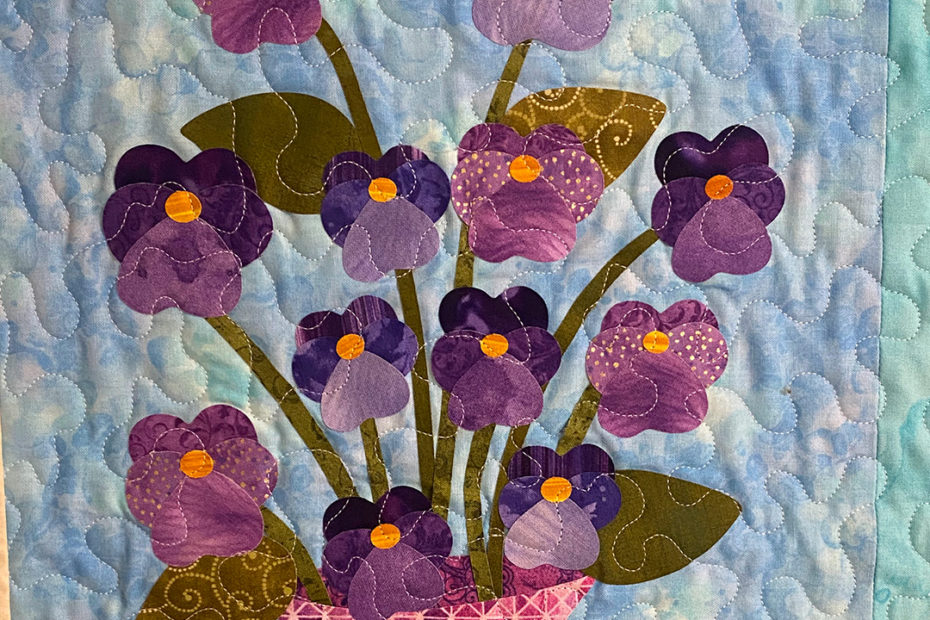
I love applique!! This is the first quilt technique I learned how to do. I was invited to join a group exchange and absolutely loved it! I’ve done many quilts using applique and love the outcome every time. It can be done by hand or by machine. They both produce beautiful results but it’s really up to the quilter to decide which way they want to go. When I have downtime and want to relax on the couch it is a perfect time to stitch by hand (usually the turn under method). When I’m in more of a hurry then a machine blanket stitch works for me.
Crazy Quilting
This fun technique is a perfect way to use up all of your funny shaped scraps. The idea is to start with attaching two pieces of fabric together – each of unique shapes. Then you can trim one side creating a straight line and attach another odd piece of fabric. You start somewhat small and build on it. You can stop anytime, square it up and start a new block. By the end you can have several blocks to create a very unique and scrappy quilt top.
At one point in life I decided that I would take all the scraps from every quilt I made and use this method. I thought that I would put a giant quilt together and remember every quilt I ever made just by the fabrics. This plan was quickly forgotten. 😊
Civil War
I have created only one Civil War quilt. I really enjoyed it and have thought about making another one, especially since I gave it away without taking any pictures of it first (it was for a great cause).
The idea behind this type of quilt is to create an historic quilt. The fabrics used should all be reproduction fabrics to make it more authentic, learn more about reproduction fabrics here. You combine that fabric using quilt patterns that have historically been used in helping slaves know what route to take to freedom. People would hang quilts out pointing them in the right and safe directions to travel.
English Paper Piecing
English paper piecing (aka EPP) is another technique that is so rewarding! It is also done by hand. Starting with small hexagon shapes (other shapes are available but hexi’s are most common) you fold your fabric over the hexi form – usually done with an iron and spray starch. Then using a needle and thread, tack the fabric into place. You can then remove the hexi form and press your perfect shape. When you combine these all together you can create dozens of patterns that will tickle any quilter’s fancy!
Art Quilting Techniques
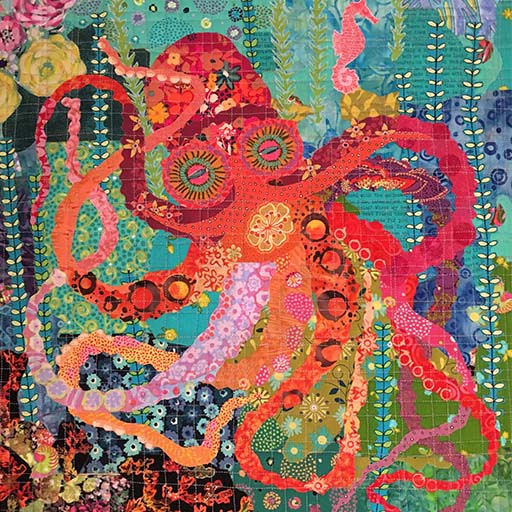
Art quilts could be a label for every type of quilt since quilting is a form of art! But I’m referring to quilts that are more artistic in that they don’t have a specific pattern or shape. This type of quilting can be a picture of your child’s face turned into fabric. Or maybe a picture of an octopus or your dog. Maybe this kind of quilt can use several different techniques to create it but came from the artist’s imagination instead of a traditional pattern.
I was asked to be a part of a quilt group several years ago and one of the ladies asked that each member create a self portrait out of fabric and send it to her so that she could put a face to the name of the gals that were in our group! Such a cute idea! It was very difficult to create something that was even close to accurate. My red hair and freckles made it fun to search for appropriate fabrics though.
Rag Quilts
A very good friend is a master at making rag quilts. She can whip those out in a very short amount of time. They’re usually baby quilts made from flannel and soft colors. Using this technique takes away the need for finished quilting.
You start with your top squares – cotton or flannel, layered with muslin and backed with flannel. You can then stitch a pattern into these little fabric “sandwiches” on your machine or simply sew a big X. Then, you stitch all of your squares together with the raw edges all facing the quilt top. Next, stitch the edges together or bind it. Using special scissors you can snip the raw edges about every ¼ inch, being careful to not cut through the seams. The washed and dried quilt then looks like rags all sewn together and it’s such a soft and cozy feel.
Never Stop Learning New Things!
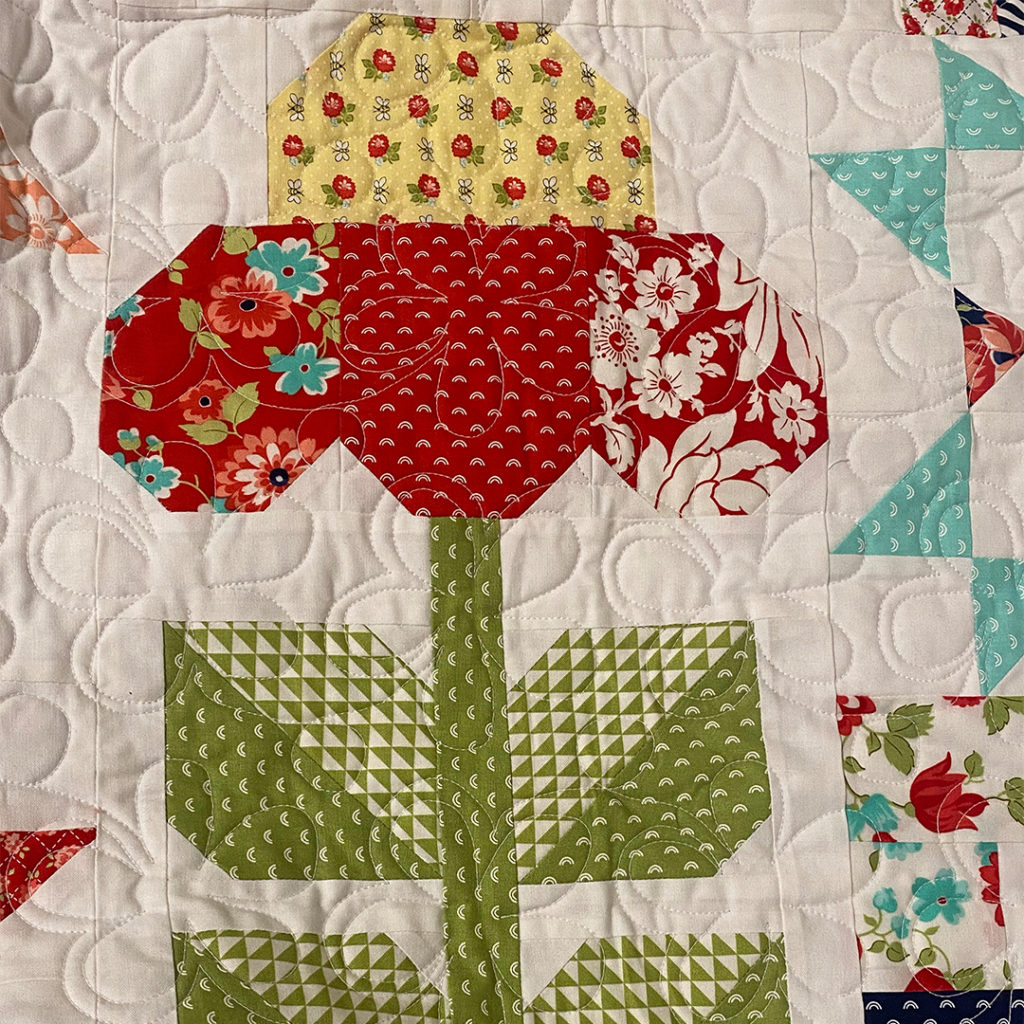
There are many ways to use all of these techniques in one quilt or use them individually but be sure to try a little of everything to find the one or ones that are a perfect fit for you. If you don’t know how to do something, find a class at a local quilt shop and go for it. My love for quilting was something that came from simply taking a class. And remember that when you want help finishing your quilt, contact me.
I would love to know what quilting techniques you enjoy using and to see what you’ve created. Use the comments section below to share what you’ve done! Quilters love to sing praises for a job well done and to be inspired by others.
Happy sewing,
Melissa
