What Steps Do You Take To Bind Your Quilts?
Do you embark on a tedious search for the perfect fabric or choose something from your stash? You have to decide how wide you want the binding to be. You need to be sure that the finished binding will enhance the overall look of your quilt. These are all factors that you must consider when you’re ready to bind your quilt.
Binding a quilt can be like finding a Picture Frame
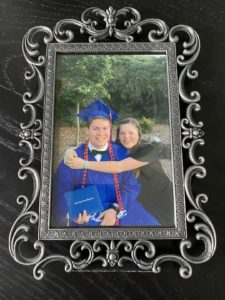
Have you ever had a photograph that you absolutely fell in love with and were determined to find the perfect frame for it? Sometimes it takes several trips to different stores before you find it. Maybe a custom frame is more your style. When you finally find it, placing the picture of your loved ones in the perfect frame has the most satisfying feeling. Sometimes it’s a lot of work but in the end, it’s worth it. Binding a quilt is often the same type of process.
Choose a coordinating or contrasting fabric
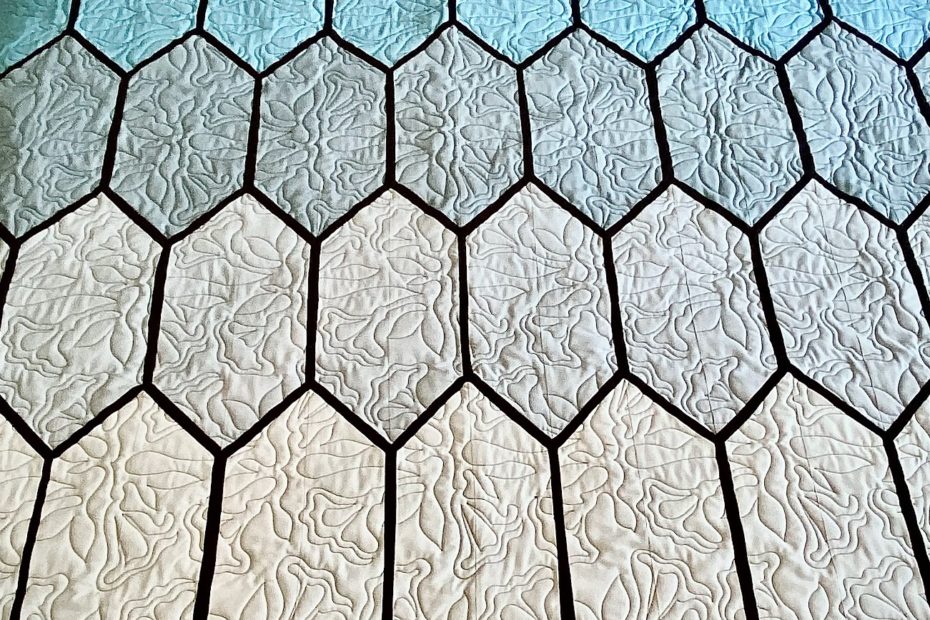
You need to decide if you want the binding to blend in and disappear or if you want it to frame your quilt. I like having it frame my quilt and use fabric that makes the rest of the quilt pop! My preference is to use fabric that has a floral print to it or has diagonal stripes. I tend to stay away from fabrics that have obvious directional patterns (other than diagonal). The reason is that if the binding or the pattern are not straight it is not visibly appealing.
Once you have found that perfect fabric for your quilt it’s time to create your binding and apply it to your quilt.
Cutting and preparing your binding fabric
Over the years I’ve applied binding in different widths. I have applied different types of fabric binding as well. For example, I used a pre packaged satin binding for a baby blanket. I’ve applied flannel in a very wide, 3 inch binding on another quilt, a very narrow, ¼ inch binding on a mini quilt. My favorite and the most useful is applying ½ inch cotton fabric binding.
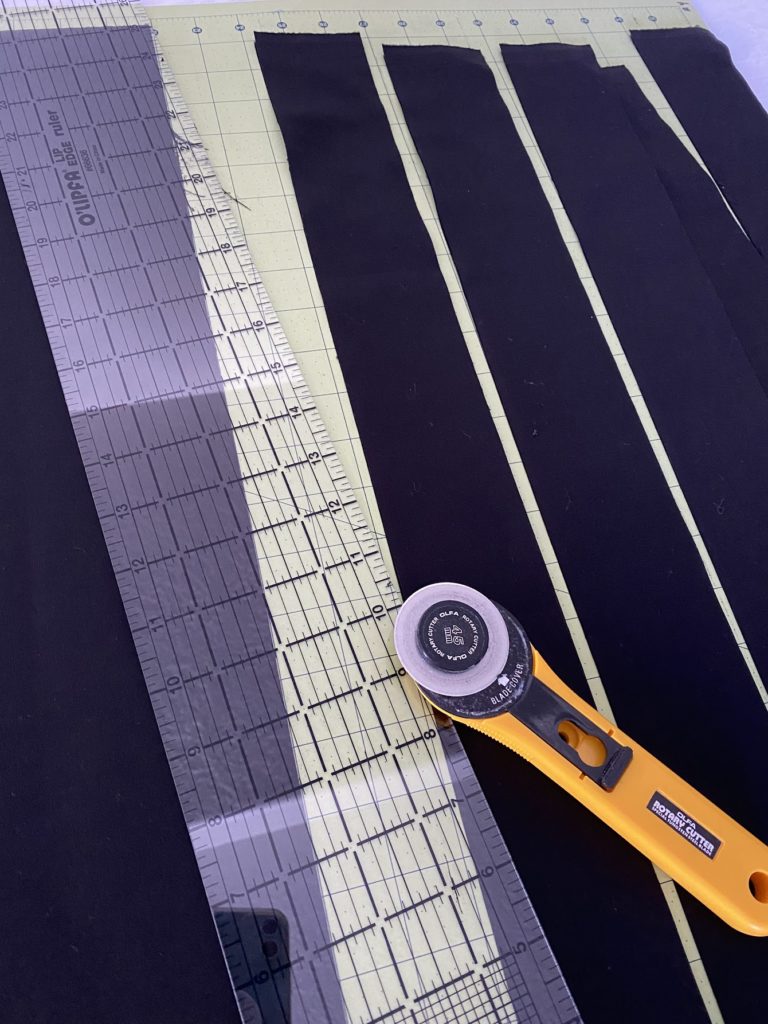
If you prefer ½ inch binding like I do, you’ll need to cut your fabric into 2 ½ inch strips. You’ll need to know how many inches the total length of your quilt measures and cut the number of strips to give you that number of inches plus 10 extra inches.
If you have chosen patterned fabric for your binding that you want to keep the direction and it runs the width of the fabric you can cut your strips along the width of the fabric. But if you prefer to cut your fabric on the bias it can have a couple of added benefits, strength or durability being one of them. That will require the same amount of fabric as the width of the fabric.
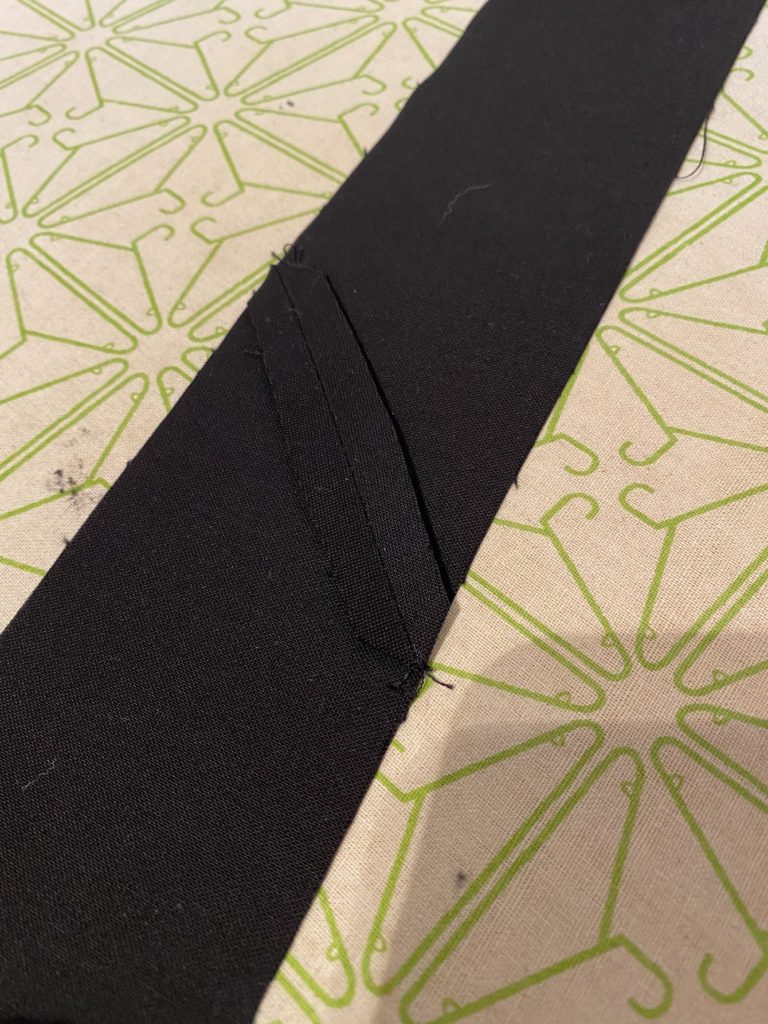
You’ll then need to stitch the fabric into one long strip. I prefer to stitch each piece together diagonally instead of straight. The benefit of this is to remove some of the bulk when you attach the binding strip to your quilt edge. Once you have all the strips sewn together and it measures 10 inches longer than your quilt’s linear length, you need to fold it in half and press the whole length of it.
Attach the binding to your quilt
Once you’re ready to attach your beautiful binding strip, you need to make sure that you have a walking foot on your sewing machine. It makes it so much easier to feed all the thicknesses through and your stitches will be more even. It is possible to attach your binding using your regular foot but a walking foot will give you better results.

You will need to trim your batting and backing fabric even with your quilt top.
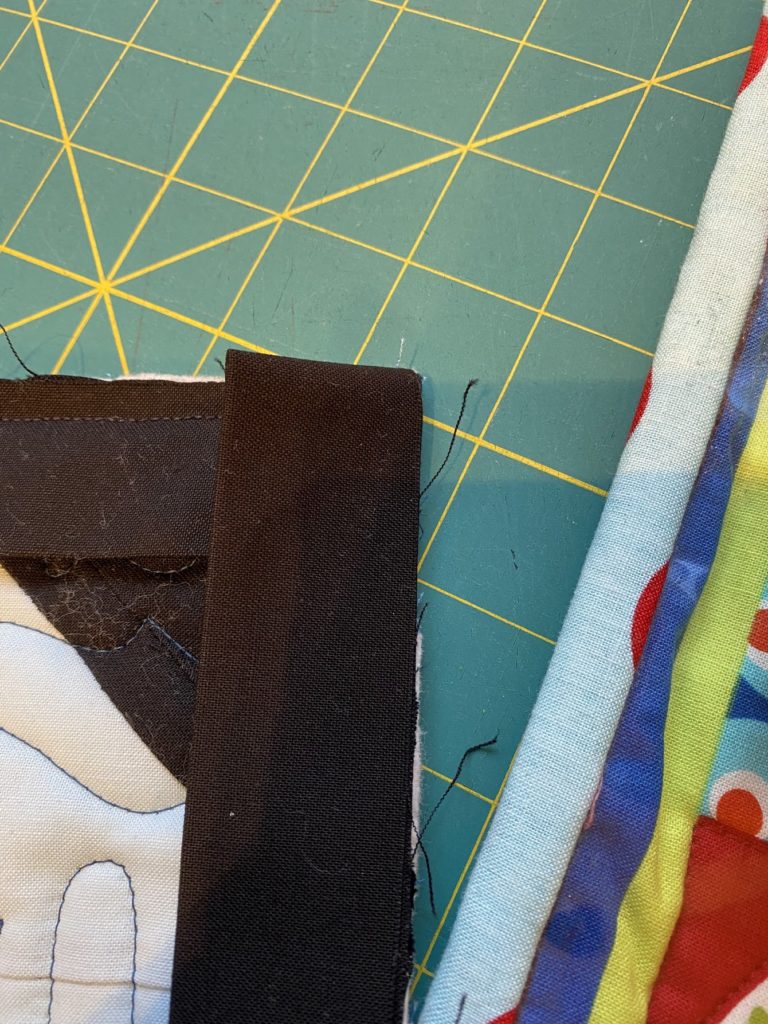
Next, choose one of the sides (not the top) of your quilt to begin your binding. I like to start about half way down the right side. Align the binding with the raw edge of your quilt top. Leave a 10 inch tail and start sewing on your binding using a ¼ inch seam allowance.
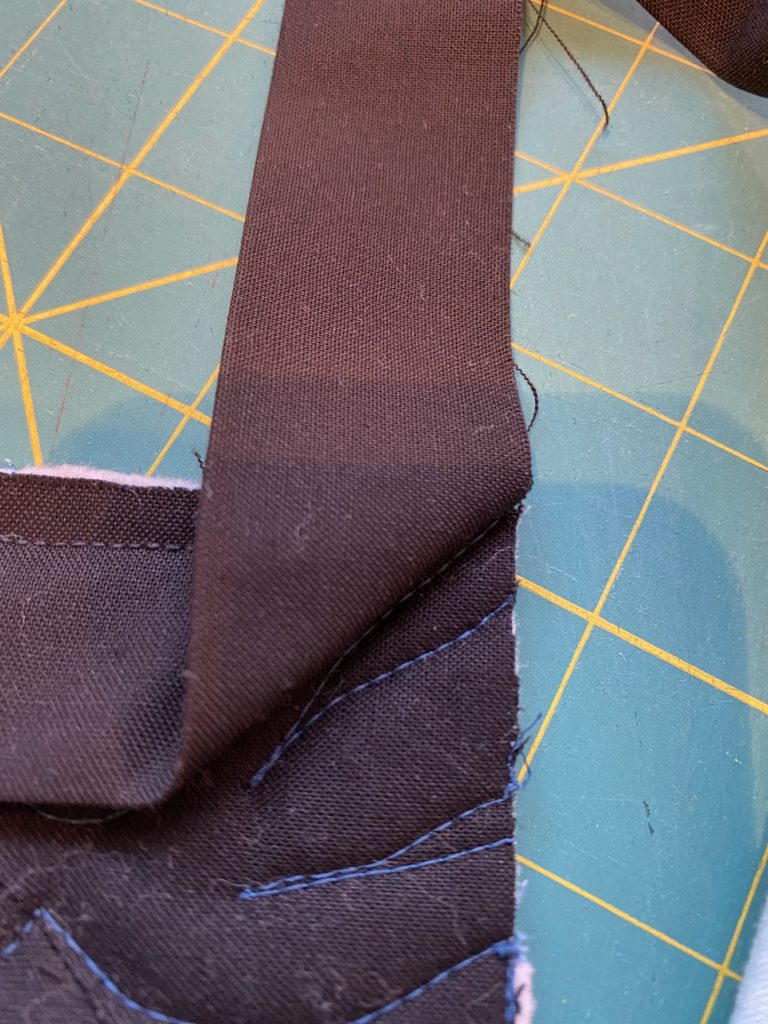
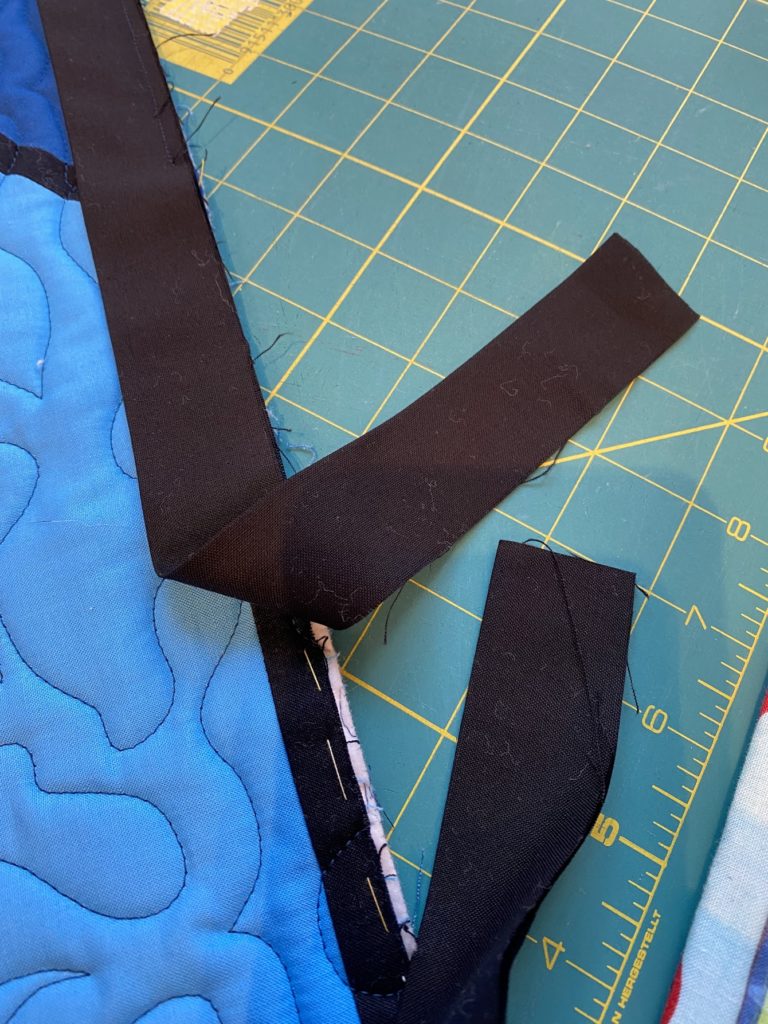
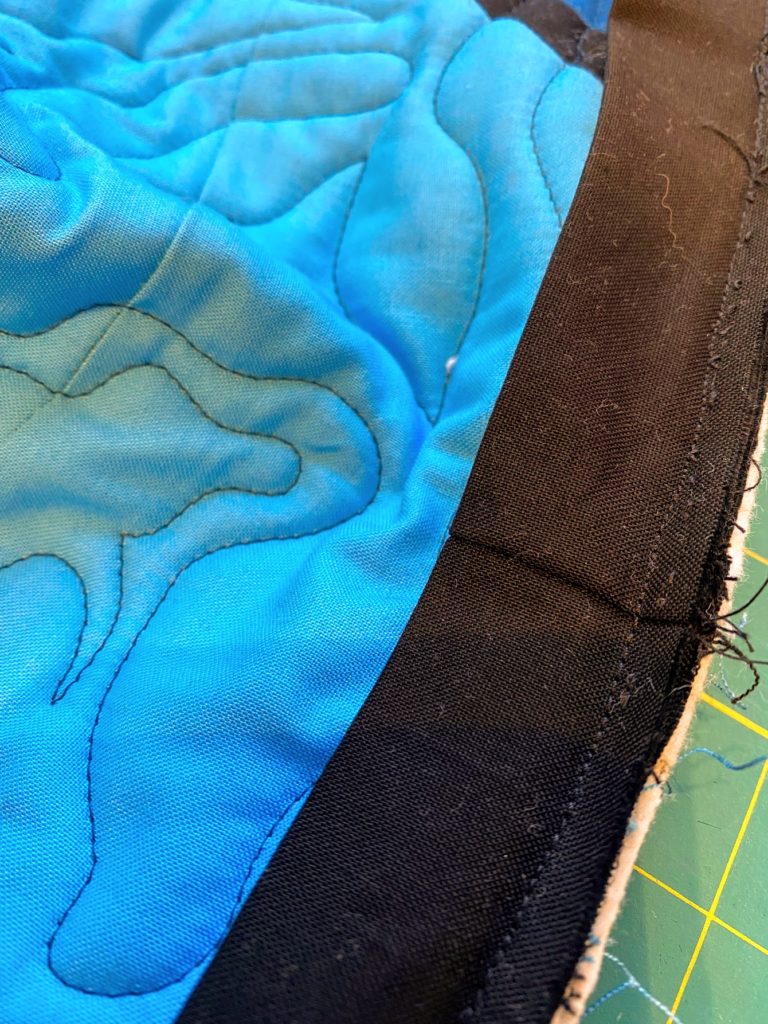
Once you get to a corner you need to stop a ¼ inch from the edge of your quilt top. Clip the threads here. Turn your quilt 45 degrees. Then fold your binding up vertically straight in line with the edge of your quilt top. Next you will fold your binding down again straight along the quilt edge. The fold that you created at the top of that edge will be a 90 degree angle with the binding that you’ve just sewn on.
Now, you can start sewing from the top edge of the binding attaching it as you were before using the same ¼ inch seam allowance. Do this same thing to all four corners.
Stop sewing when you get about 10 inches away from the place where you began. Clip your threads here. You should have close to 20 inches of excess binding that overlap each other.
Now you need to overlap your excess binding, mark the center, then measure and mark ½ inch away from the center on both the top and the bottom binding. Unfold the binding and with the right sides together pin and then stitch together at the ½ inch mark. Make sure that your binding will lay flat along your quilt without excess and without being too short. Now is the time to cut off the extra length and press your seam open. Once you are happy with this step you can finish sewing the binding to your quilt.
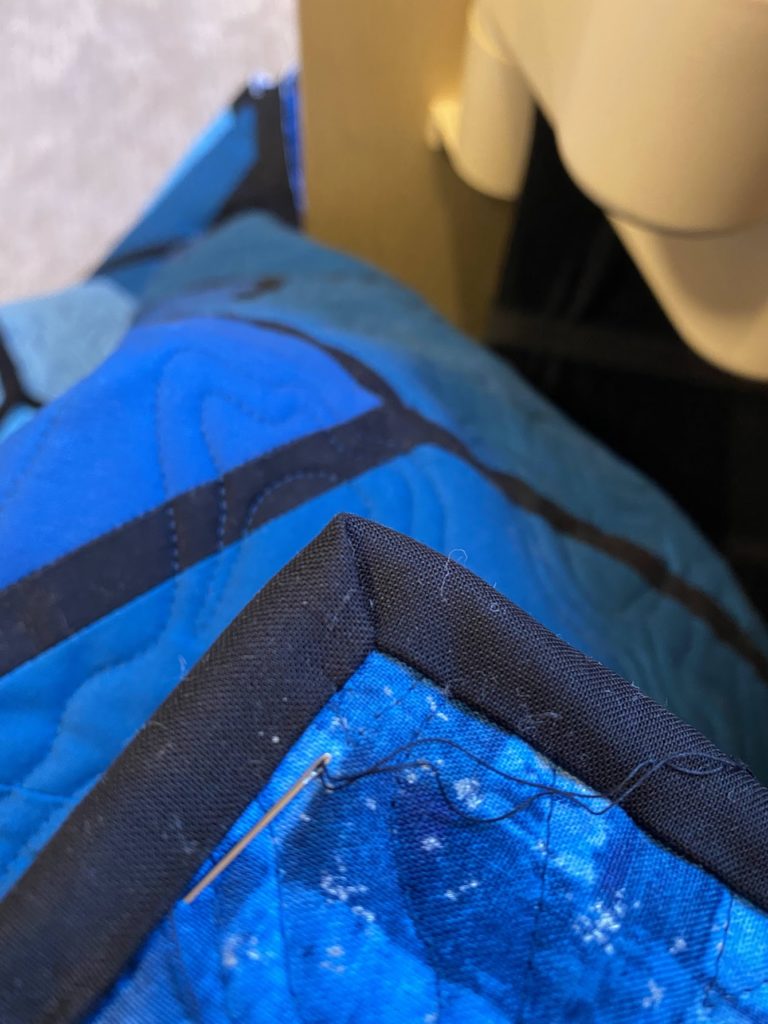
Stitching the binding down on the back of your quilt can be done in 2 ways – Hand stitching or machine stitching. I have used both and it’s truly a personal preference. The finished look of hand stitching is always a better look but takes longer. I use a blind hem stitch. It turns out beautifully and as long as I wear a thimble, my fingers don’t mind the work.
You can use your sewing machine to stitch down your binding, keep in mind that the stitching will be seen on the front of your quilt and may or may not be perfectly straight. This option is much faster and may be just the look you’re hoping for. Whichever method you choose, be sure to add a little stitch to secure the corners.
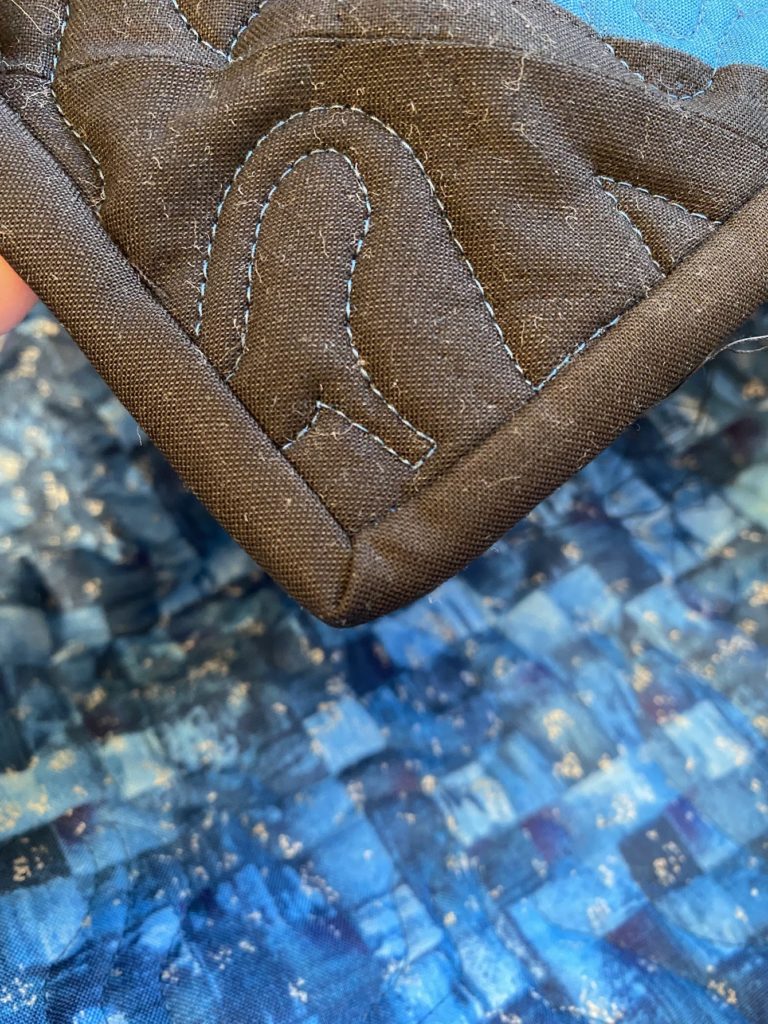
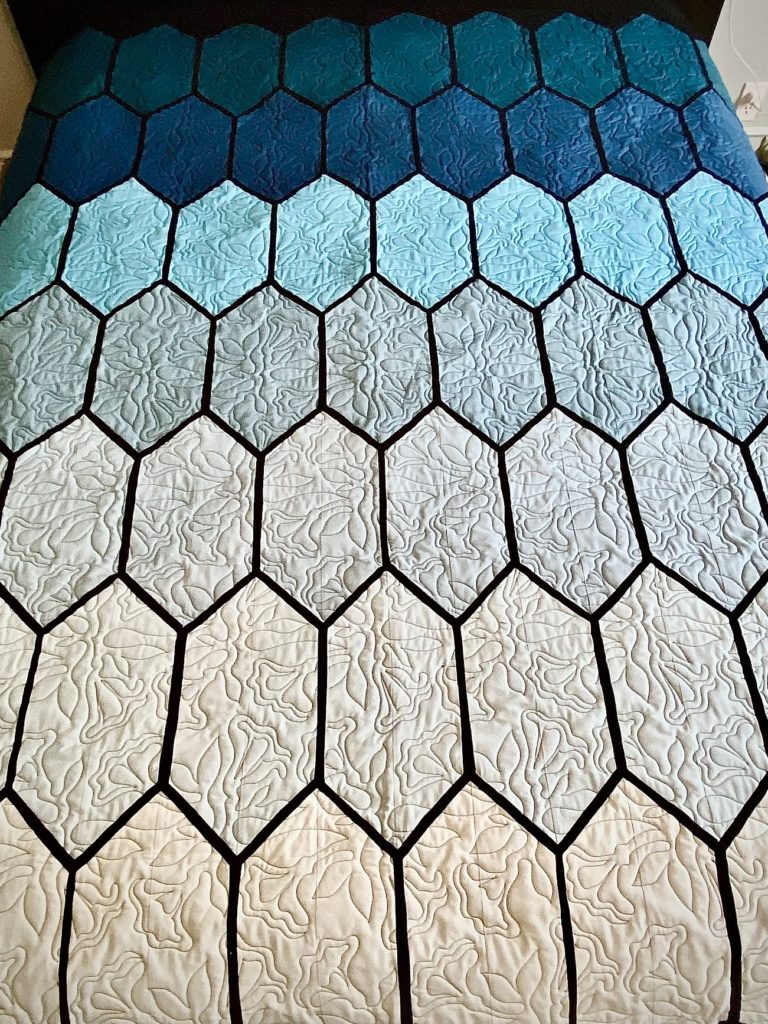
That’s it! That’s all there is to it! It sounds like lots of steps but overall it’s so satisfying to look at your completed quilt and have the binding that you just applied be the frame around your work of art.
Now you need to show off that quilt to all of your friends and enjoy the ooooo’s and ahhhhh’s.
- Do you have questions? Contact me here if you need help.
- Happy Quilting!